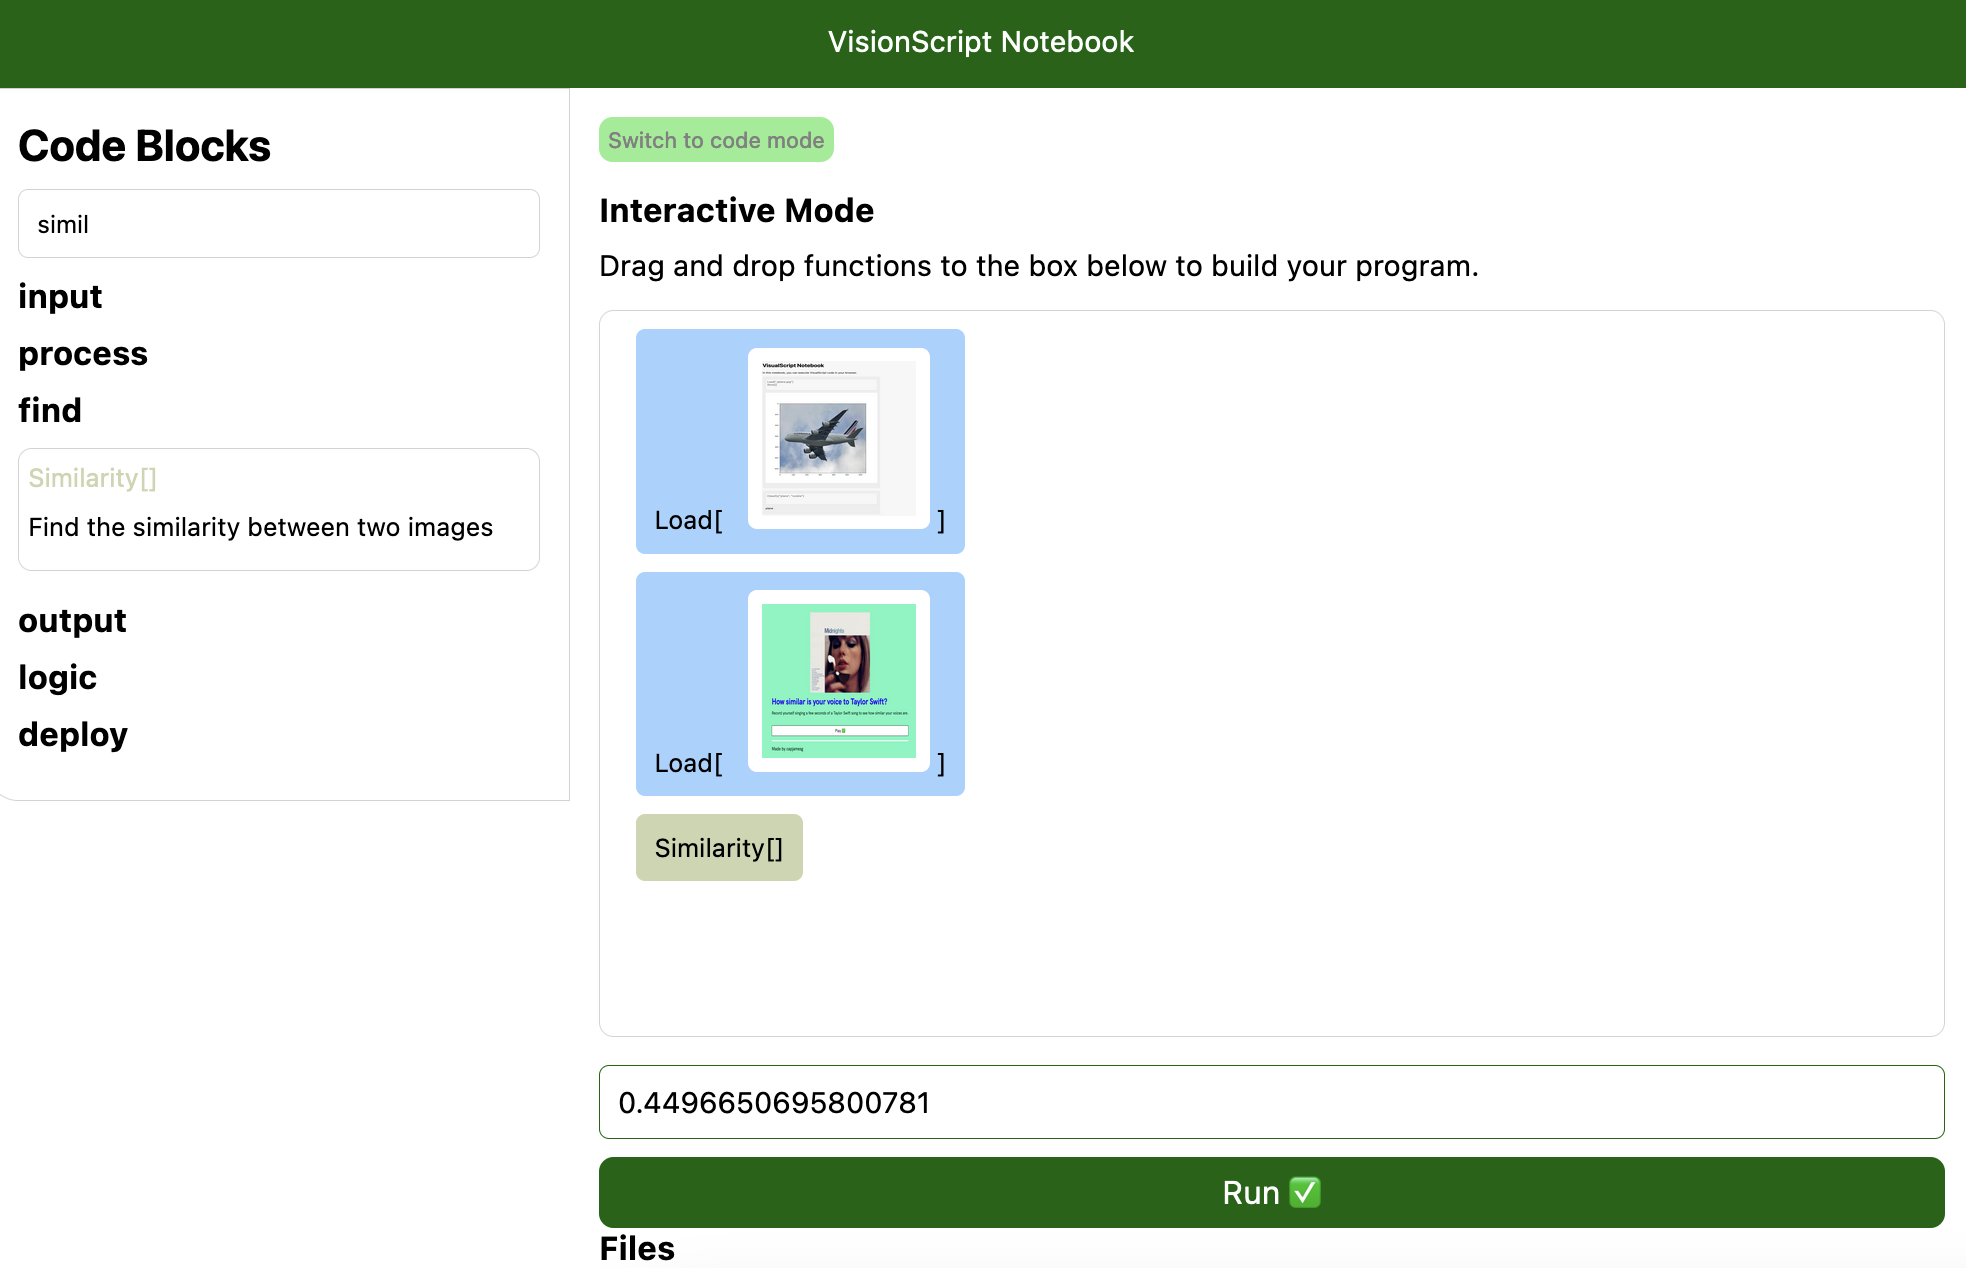
VisionScript Notebook is an interactive environment for writing and running VisionScript scripts. In Notebooks, you can write programs in a drag-and-drop editor, or in VisionScript code. You can save notebooks for later use, or deploy your code as a public notebook or an interactive web application.
We recommend using VisionScript notebooks for experimenting with VisionScript and writing scripts that involve either using larger models (i.e. groundingdino) or creating search indexes using the Search[] method.
This guide shows how to use VisionScript Notebooks to write code. Let's begin!
If you are running VisionScript on your local computer, run visionscript --notebook to open VisionScript Notebooks.
Navigating the Notebook
VisionScript Notebooks have four components:
- A list of blocks you can drag-and-drop in your scripts, or use as a reference;
- A file editor, where you can drag-and-drop files for use in your script;
- A place to write code, and;
- A navigation bar, with controls that let you run, reset, and deploy your notebook.
A Notebook can be run in one of two modes:
- Interactive mode, which lets you drag-and-drop blocks to write a program, and;
- Code mode, where you write custom VisionScript code by hand.
Let's talk through both of these modes.
Writing a Program in Interactive Mode
To write a program in interactive mode, drag and drop blocks from the list of blocks into the box in the middle of the screen:
[add gif]
Let's write a program to open an image and generate a caption. We can drag and drop two blocks to make this program work:
- Load[]
- Caption[]
Here is what our program looks like:
[add image]
Blocks can accept two types of input: files and text. The block reference on the right side of the screen will tell you if you can use a file or text as input. Some blocks, such as Caption[], do not need any input.
Load[] supports text and file inputs. Let's drag in an image of a shrub into Load[], which tells our script we want to load this image. Then, Caption[] will generate a caption for our image"
[add image]
The image is now nested within the Load[] block.
To run a program, click Run All in the top right corner of the page:
[add GIF]
Our program has run successfully. The result of our program is the text that appears at the bottom of the drag-and-drop section on the page. In this case, our program generated the following response:
Add text
Writing a Program in Code Mode
Code Mode lets you write VisionScript programs by typing out code.
To enable Code Mode, click "Switch to Code Mode" in the VisionScript Notebook. Then, you can type in code.
Code Mode supports two types of statements:
- Code, which can be run, and;
- Text, which is rendered as text and does not run any code (useful for explaining code or creating reports or tutorials alongside your code).
To use Code Mode, type a program in the text box on screen (called a "cell"), then click "Run" or "X".
If you run a code cell, a loading message will appear at the bottom of the screen. When your code has finished running, any output will appear below the cell. A new text field will appear in which you can write more code. All of the code in the notebook together makes a program, so you don't have to reload images every time you create a new cell.
Let's write a program that loads an image. We can use a Load[] statement to load the image and a Show[] statement to show it:
[add image]
Let's find all of the people in the image. We can do so using this code:
Detect["person"]
Show[]
After running this code, a new cell is created with the output from our code:
Our code successfully returned an image with boxes around people in the image.
You can create as many cells as you want in a notebook. You can also re-run cells by clicking the "Rerun" button next to any cell:
[add image]
Reset a Notebook
If you want to reset your notebook, click the "Reset" button in the top right corner. All of your program state will be deleted, which means you will need to reload any models and images that you want to work with.
Next Steps
Now you have all of the tools you need to use the Notebook development environment. If you are interested in sharing your apps with others, check out our guide on how to deploy VisionScript applications from a Notebook.